
There is something wonderfully practical about having a container of homemade apple pie filling tucked into the refrigerator or freezer. Of course, it puts an old-fashioned apple pie within easy reach, but that may be the least interesting thing you can do with it.
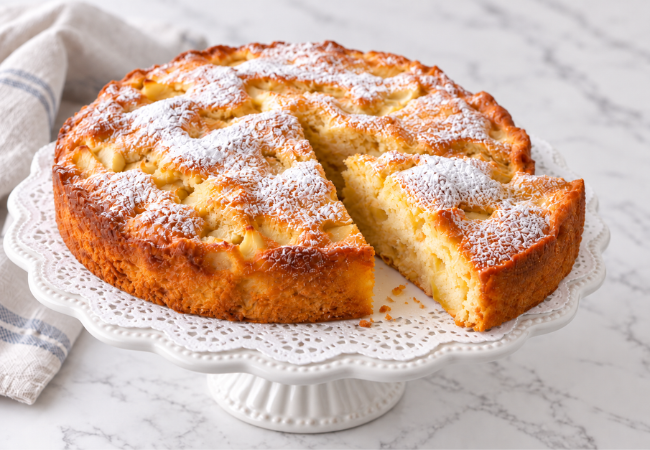
Spoon it over pancakes or waffles on a chilly morning. Layer it with yogurt and granola. Tuck it into turnovers or hand pies, spoon it over pound cake, add a crumb topping for an almost-instant apple crisp, or warm it gently and serve it over vanilla ice cream. It can even become the filling for a rustic galette or a quick dessert made with puff pastry.
In other words, think of this as a fall kitchen staple rather than simply pie filling.
The best filling starts with apples that keep some of their shape as they cook. Using two or more varieties is especially nice: one apple can contribute tartness while another brings sweetness and a slightly softer texture. Fresh apple cider intensifies the apple flavor, while cinnamon, nutmeg, brown sugar, vanilla, and a little butter give the finished filling that unmistakable aroma of autumn baking.
Make a batch when local apples are plentiful, use what you need, and freeze the rest for another day.
Choosing Apples for Pie Filling
Look for flavorful, firm-textured apples that won’t completely collapse when cooked. Granny Smith, Pink Lady, Braeburn, Jonagold, Golden Delicious, Gala, or similar baking apples are all good possibilities.
Better yet, use a combination. Mixing varieties creates a filling with more interesting flavor and texture than using a single apple alone.
For filling that will later be baked inside a pie or pastry, cook the apples only until they begin to soften. They’ll continue cooking in the oven.
Homemade Apple Pie Filling
Tender apples in a glossy cider-spiced sauce make this homemade filling useful for far more than pie. Keep a batch chilled or frozen for crisps, turnovers, breakfast dishes, quick desserts, or an easy taste of fall whenever you want one.
INGREDIENTS:
3 pounds firm baking apples, about 7 to 9 medium apples
1 tablespoon fresh lemon juice
1/2 cup packed light brown sugar
1/4 cup granulated sugar
1 1/2 teaspoons ground cinnamon
1/4 teaspoon freshly grated nutmeg OR ground cardamom
Pinch of kosher salt
3/4 cup plus 2 tablespoons fresh apple cider, divided, plus additional cider if needed
2 tablespoons cornstarch
2 teaspoons vanilla extract
2 tablespoons unsalted butter
METHOD:
Peel, core, and slice the apples.
Place the apples in a large, heavy-bottomed saucepan or Dutch oven. Add the lemon juice, brown sugar, granulated sugar, cinnamon, nutmeg, and salt. Toss gently until the apples are evenly coated.
Let the apples stand for about 10 minutes. The sugar will begin drawing out their natural juices.
Add 3/4 cup apple cider and place the pan over medium heat. Cook, stirring occasionally, until the apples begin to soften but still hold their shape, about 8 to 10 minutes. If the liquid evaporates too quickly, add another splash of cider.
For apples that will later be baked inside a pie, galette, or pastry, cook them for slightly less time so they remain fairly firm.
In a small bowl, whisk the cornstarch with the remaining 2 tablespoons apple cider until completely smooth.
Stir the cornstarch mixture into the apples. Bring the filling to a gentle boil and cook, stirring, for 2 to 3 minutes, or until the juices become thick, clear, and glossy.
Remove from the heat. Stir in the vanilla and butter until the butter has melted.
Cool completely before transferring the filling to a covered container.
If using the filling for pie or another butter-based pastry, chill it thoroughly before assembling so the warm filling does not soften or melt the pastry.
YIELD: Makes enough for one 9-inch pie
Kitchen Wisdom
Let the apples sit before cooking.
A short rest with the sugars and spices encourages the apples to release some of their juice and helps create a flavorful sauce.
Don’t overcook the apples.
If the filling is going into something that will be baked again, the apples should still have some structure when they leave the saucepan.
Add the cornstarch at the end.
Waiting until the apples are nearly cooked makes it easier to control the consistency and prevents the thickener from sticking or scorching during the longer cooking period.
Use apple cider when you can.
Fresh cider adds another layer of apple flavor. In a pinch, unsweetened 100% apple juice can be substituted.
Beyond the Pie: 12 Ways to Use Apple Pie Filling
Once you have a batch in the refrigerator, dessert — and sometimes breakfast — is halfway finished.
- Spoon over pancakes, waffles, or French toast.
- Swirl into oatmeal or other hot breakfast grains.
- Layer with plain yogurt and granola.
- Warm and spoon over vanilla ice cream.
- Serve over pound cake, gingerbread, or cheesecake.
- Tuck into turnovers made with puff pastry.
- Use for individual hand pies.
- Spoon into a baking dish and add a streusel topping for quick apple crisp.
- Fill a rustic apple galette.
- Layer into an apple parfait or trifle.
- Spoon over baked Brie and serve with toasted bread or crackers.
- Warm gently and serve alongside French toast, crêpes, or bread pudding.
And, naturally, there’s always pie.
Storing Apple Pie Filling
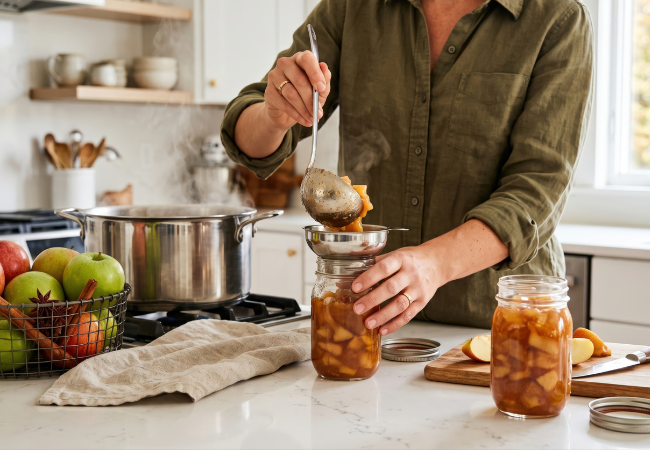
Cool the filling completely before refrigerating. Store it in a tightly covered container in the refrigerator and use within about 5 to 7 days.
For longer storage, divide the filling into freezer-safe containers, leaving a little room for expansion, and freeze for up to 3 months. Thaw overnight in the refrigerator before using.
Important: This recipe is intended for refrigerator or freezer storage. It is not a tested home-canning recipe and should NOT be processed for shelf-stable storage. Use a specifically tested canning recipe when preserving apple pie filling for the pantry.